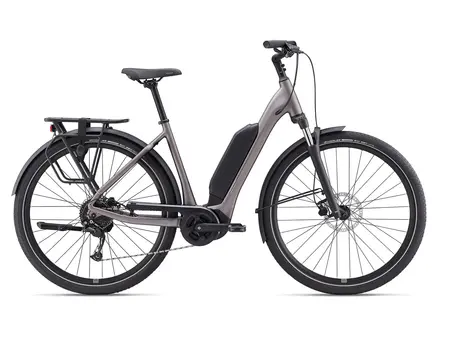
Preparing Your Bike for the Season: Essential Maintenance Checklist
When the warmer days return, preparing your bike for the season is the best way to avoid breakdowns, improve comfort, and ride safely. This essential maintenance checklist guides you step by step, whether you're a weekend cyclist, a daily commuter, or a long-ride enthusiast.
The goal: an efficient spring bike prep, a straightforward seasonal bike service you can carry out at home, and an annual bike maintenance routine that extends the life of your components.
Tip: plan for 45 to 90 minutes for a complete tune-up. If the bike has been sitting all winter or you've noticed a suspicious noise, allow a little extra time.
Why Service Your Bike in Spring?
Coming out of winter often means dust, moisture, hardened grease, and small traces of corrosion. The result: a noisy drivetrain, reduced braking power, under-inflated tires, and sometimes bolts that have worked loose from vibrations.
A start-of-season bike maintenance checklist helps you to:
- Improve safety (brakes, tires, steering).
- Boost efficiency (clean chain, proper lubrication).
- Reduce wear (less friction, fewer abrasive particles).
- Avoid costly repairs by catching parts that need replacing early.
Bike Maintenance Checklist: The Essentials in 10 Steps
Here is a complete, practical bike maintenance checklist. Follow the order: start with inspection, then cleaning, then adjustments and lubrication.
1) Quick Inspection: Spot Problems Before You Clean
- Frame and fork: look for cracks, impacts, white spots (carbon) or dents (aluminum/steel).
- Wheels: wobble, loose spokes, play in the hubs.
- Drivetrain: rusty chain, dirty cassette, stuck derailleur pulleys.
- Brakes: excessive lever travel, noises, rubbing.
Take note of anything that seems off — it helps you avoid missing a point during your seasonal bike service.
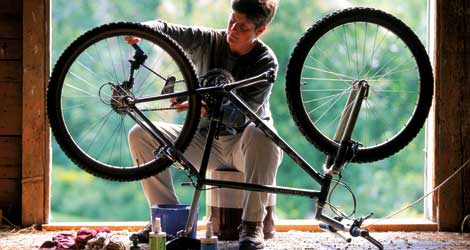
2) Full Cleaning: The Foundation of Any Spring Bike Prep
Cleaning isn't just about aesthetics: dirt acts like an abrasive paste. For the best results, use specialized cleaning products that are gentle on materials and bearings.
- Rinse with low pressure (avoid high-pressure jets on bearings, bottom bracket, and headset).
- Apply a degreaser/cleaner, let it work, then brush the drivetrain and greasy areas.
- Rinse, then dry with a microfiber cloth.
For a simple and effective solution, you can opt for a bike maintenance cleaner designed to lift dirt without damaging surfaces.
3) Drivetrain: Chain, Cassette, Chainrings
A clean drivetrain means less wear and quieter riding. After cleaning:
- Check chain wear (ideally with a wear indicator tool). If it's too stretched, replace it before it damages the cassette and chainrings.
- Inspect the teeth: if they look "shark-finned," the cassette and/or chainrings may need replacing.
- Clean the derailleur pulleys (often overlooked), then check alignment and tension.
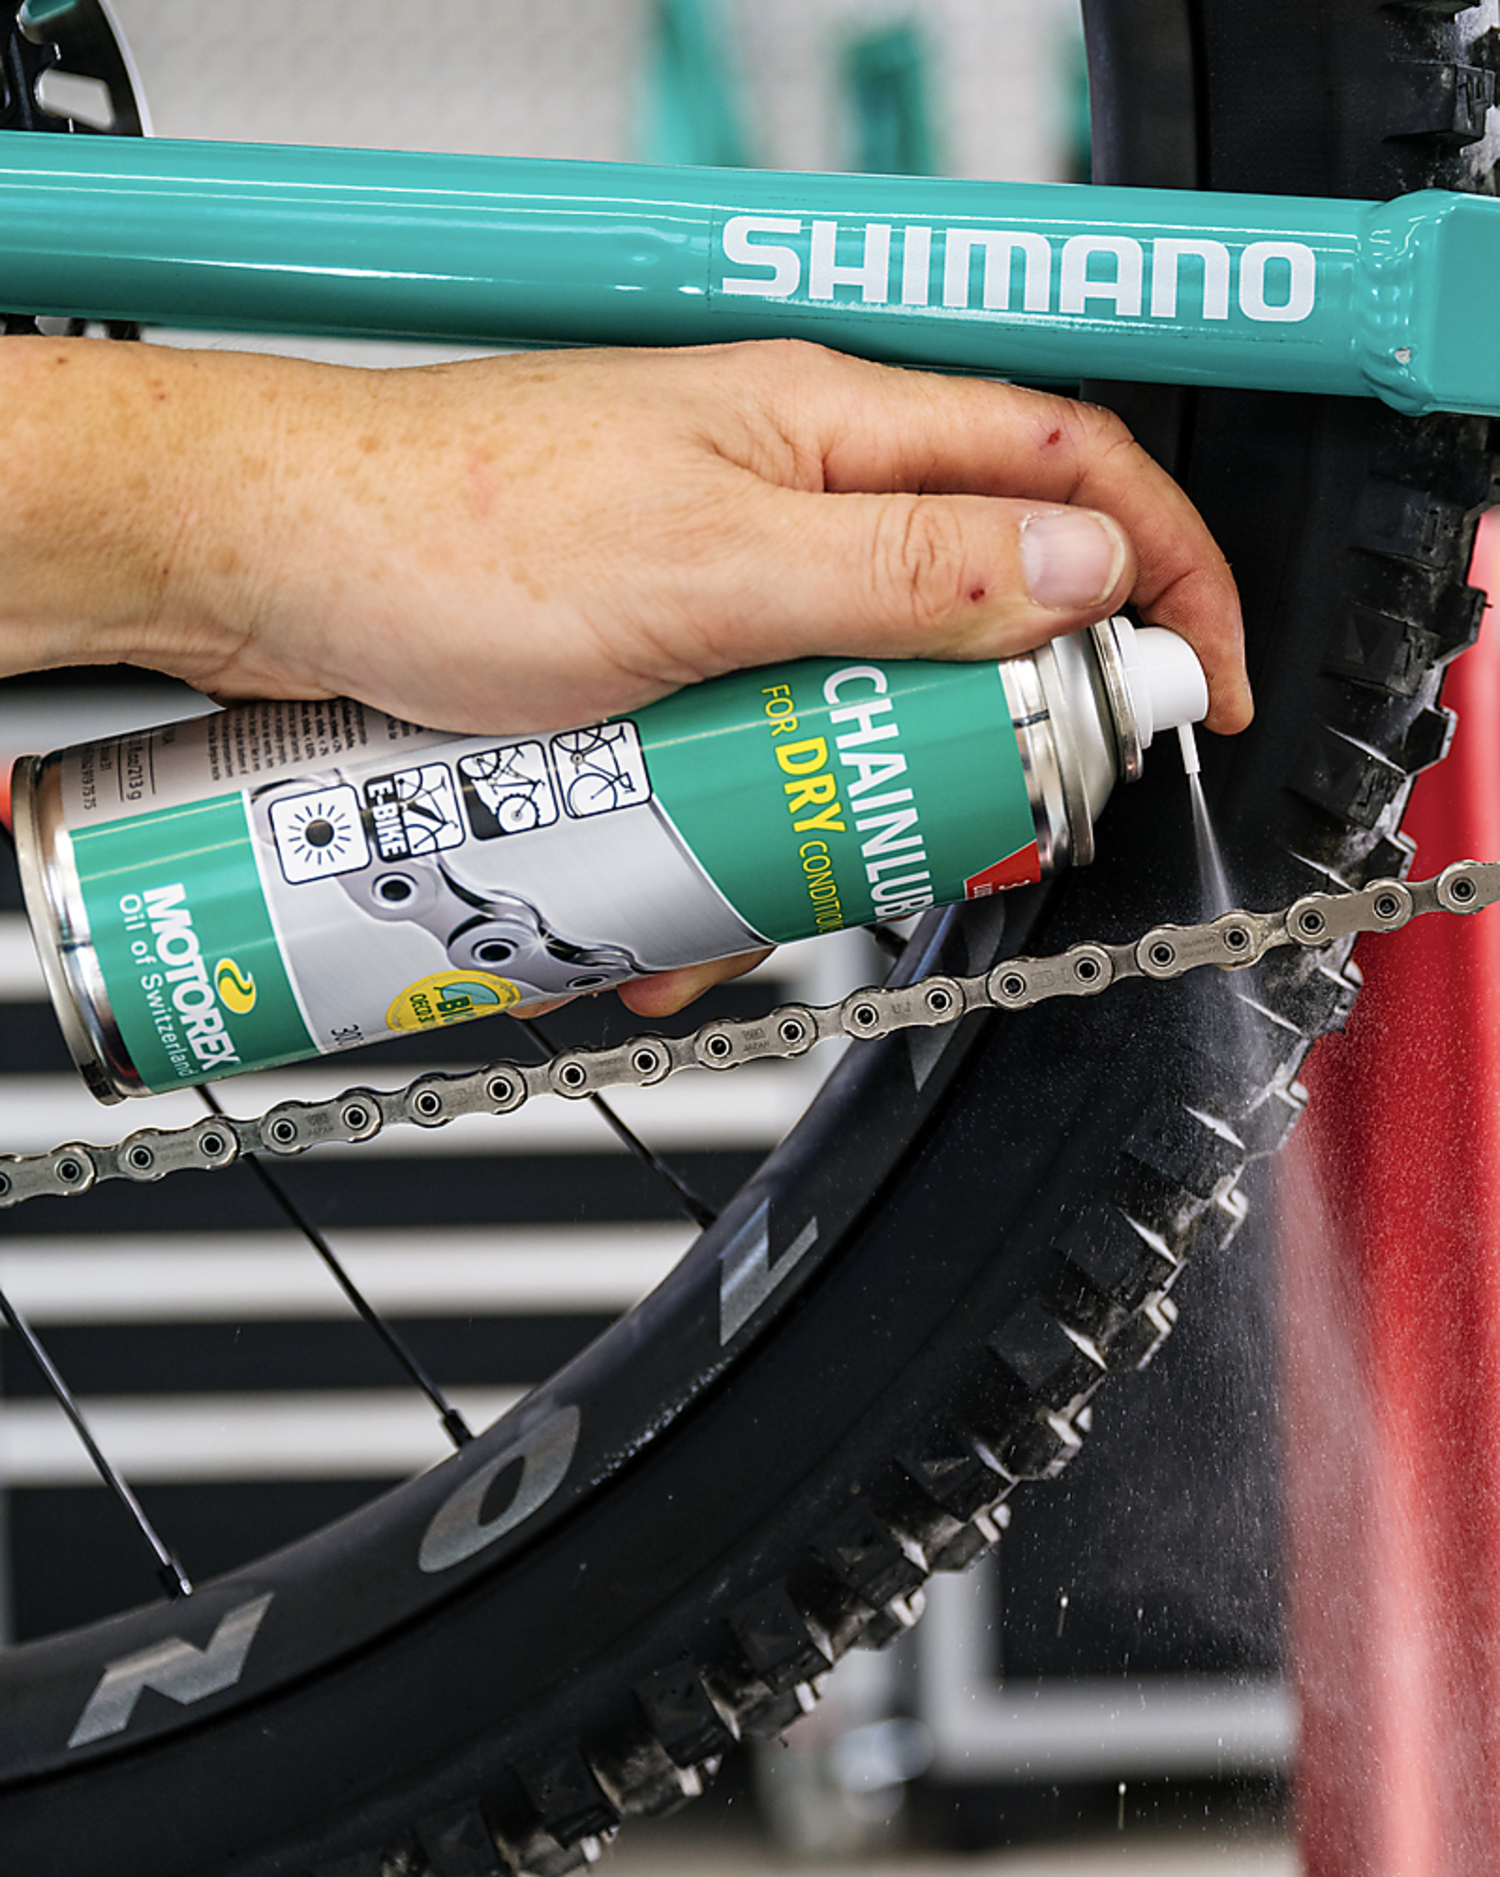
4) Lubrication: Choose the Right Lube and Apply It Correctly
Lubrication is a cornerstone of annual bike maintenance. Always apply lubricant to a clean, dry chain — otherwise you're trapping dirt.
- Apply one drop per link (on the inner side), then turn the pedals for 20–30 seconds.
- Wait a few minutes, then wipe off the excess: a "shiny" chain attracts dirt.
For performance and longevity, a ceramic lubricant is an excellent choice, especially if you ride frequently in spring and summer.
5) Brakes: Safety First (Pads and Discs)
Braking deserves priority attention during any seasonal bike service:
- Disc bikes: check pad thickness. If you hear metal-on-metal or feel vibration, it may be time to replace them.
- Rim bikes: check pad wear and alignment on the rim.
- Clean discs/rims with a suitable product (avoid oil contamination).
If needed, compatible brake pads are easy to find for your system, so you can get back to clean, powerful stopping.
6) Tires: Condition, Pressure, and Puncture Prevention
- Inspect the sidewalls: cracks, bulges, cuts.
- Check the tread: wear indicators, flat spots, embedded debris.
- Inflate to the correct pressure (road, gravel, MTB: refer to your use case and body weight).
For tubeless setups: check the sealant level (often needs topping up after winter) and valve integrity.
7) Wheels and Axles: Smooth Spin and No Play
Lift the bike and spin the wheels:
- Each wheel should spin freely with no rubbing noise.
- Check for wobble (consistent gap relative to the pads/calipers).
- Test for play: grip the wheel and move it laterally. Any excessive play may indicate an adjustment issue or worn bearing.
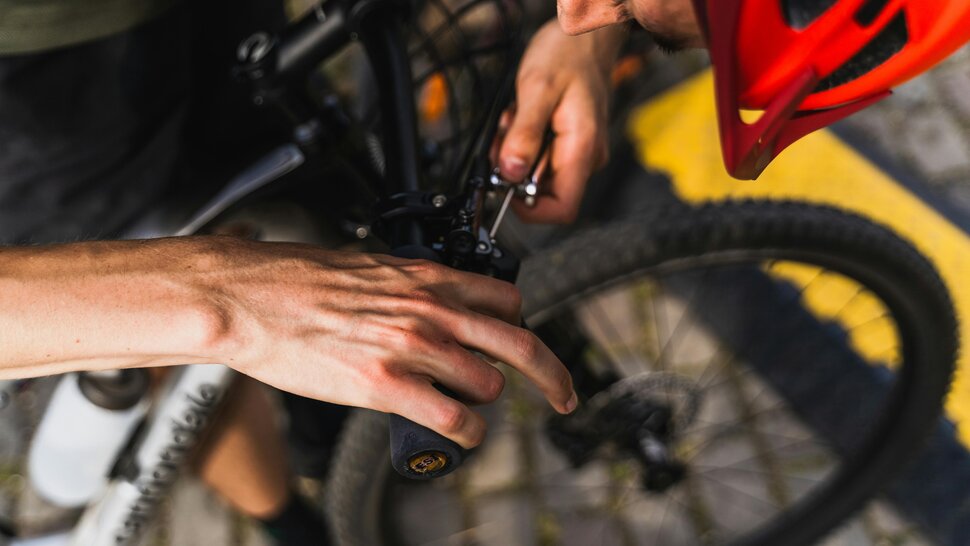
8) Steering, Stem, and Handlebar: Tightness and Feel
A well-set-up cockpit means both comfort and safety:
- Test the headset: hold the front brake and rock the bike back and forth. If you hear a clunk, there may be play in the headset.
- Check stem and handlebar tightness (to the recommended torque, especially on carbon).
- Inspect the bar tape/grips: if they're slipping or tearing, replace them.
9) Secondary Drivetrain: Pedals, Bottom Bracket, Saddle, Seatpost
- Pedals: smooth rotation, no excessive play, properly tightened.
- Saddle/seatpost: check tightness, and if the post is seized, remove and inspect (apply appropriate grease or carbon assembly paste).
- Bottom bracket: any persistent creak after cleaning and lubrication may indicate the need for more advanced servicing.
10) Final Test: Short Test Ride and Fine-Tuning
Before your first big spring ride, take a 5–10 minute test ride:
- Run through all the gears: if it clicks or skips, adjust cable tension (barrel adjuster) and limit screws if necessary.
- Brake hard: no spongy lever, no unusual noise, no pulling to one side.
- Listen carefully: noises are valuable indicators (rubbing, clunking, creaking).
When Should You Do Your Annual Bike Maintenance? Finding the Right Rhythm
The frequency depends on your riding habits, but here's an effective baseline:
- Every week (or every 2–3 rides): tire pressure, wipe down the chain, quick visual check.
- Every month: drivetrain cleaning, chain wear check, brake inspection.
- Each change of season: full seasonal bike service (as covered in this article).
- Once a year: thorough check-up (hydraulic brake bleeding if needed, cables/housing, bearings for heavy riders).
Common Mistakes to Avoid During Your Bike Prep
- Using a pressure washer near bearings: water flushes out grease and accelerates wear.
- Over-lubricating: excess lube attracts dust and sand.
- Contaminating the brakes (oil on disc/pads): noisy and ineffective braking.
- Tightening carbon parts by feel: risk of damage. Using a torque wrench is strongly recommended.
- Skipping the safety test: a few minutes of test riding prevents a lot of unpleasant surprises.
The Essentials for a Successful Bike Maintenance Checklist
You don't need a full workshop, but a few key items make annual bike maintenance easier and cleaner: brushes, cloths, a suitable cleaner, lubricant, and optionally a chain wear indicator and a torque wrench.
To kit yourself out easily, browse a selection of maintenance tools and products suited to all levels, from quick cleans to more thorough services.
Conclusion: Ready to Ride?
By following this bike maintenance checklist, you cover everything that matters: cleanliness, safety, performance, and peace of mind. Whether your goal is getting back in shape, tackling long rides, or commuting by bike, preparing your bike for the season guarantees a stress-free return to riding.
Equip yourself for your spring bike prep and plan your seasonal bike service today: browse our maintenance tools and products, choose an effective bike cleaner, and finish with a ceramic lubricant to get back on the road with a top-performing drivetrain.
Recent articles
View all